Thinking about listing your South Shore home in the next 3 to 12 months? Your first showing will likely happen on a buyer’s phone. Clean, inviting photos get clicks, showings, and stronger offers, and thoughtful staging is what makes those photos shine. You want a simple plan that fits the South Shore market and shows your home at its best without overdoing it.
This guide walks you through why staging works, local buyer priorities in 02050 and nearby towns, room-by-room steps, timelines, and how to prep for photography and virtual tours. You will leave with a clear checklist and practical ideas you can start today. Let’s dive in.
Why staging works on the South Shore
Most buyers start online, so your photos need to tell a clear, attractive story. Staging helps buyers visualize how rooms function, understand scale, and imagine their life in the home. Clean sightlines, balanced furniture, and warm light translate into photos that invite action.
Staging and photography work together. When rooms are decluttered and styled, a professional photographer can capture space, light, and focal points that stand out across MLS and major portals. This is especially important for the South Shore, where many buyers preview homes virtually before booking a visit.
With commuters and second-home seekers in the mix, buyers often decide from 2D photos and 3D walkthroughs whether a property feels move-in ready. Staging that supports both on-screen and in-person experiences increases engagement and buyer confidence.
Local buyer priorities in 02050 and beyond
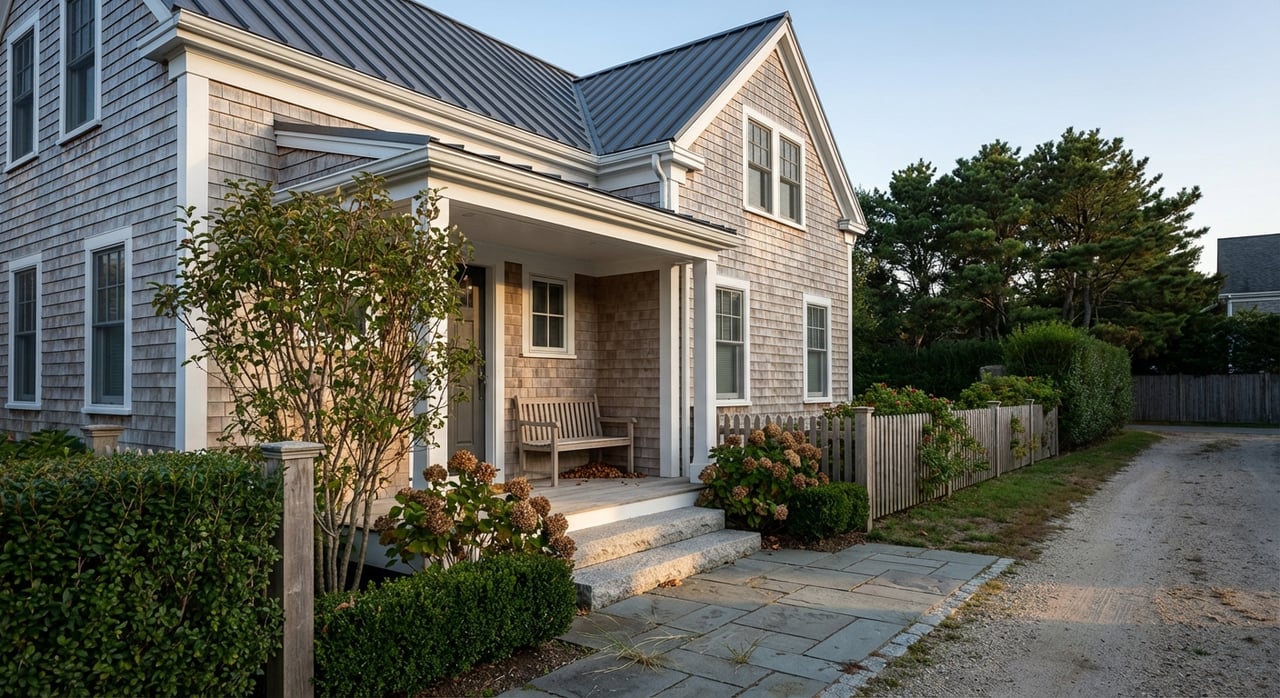
The South Shore offers a mix of historic colonials, Cape-style homes, newer builds, and waterfront cottages. Your staging should respect the architecture. Keep a neutral, timeless backdrop and let original details or clean modern lines shine.
- Show a clear home office or flexible workspace. Many buyers value remote work options and strong Wi-Fi zones.
- Emphasize functional family spaces and storage. Keep layouts simple and demonstrate easy flow.
- Highlight outdoor living. Stage decks, porches, and yards to show seasonal use and low-maintenance appeal.
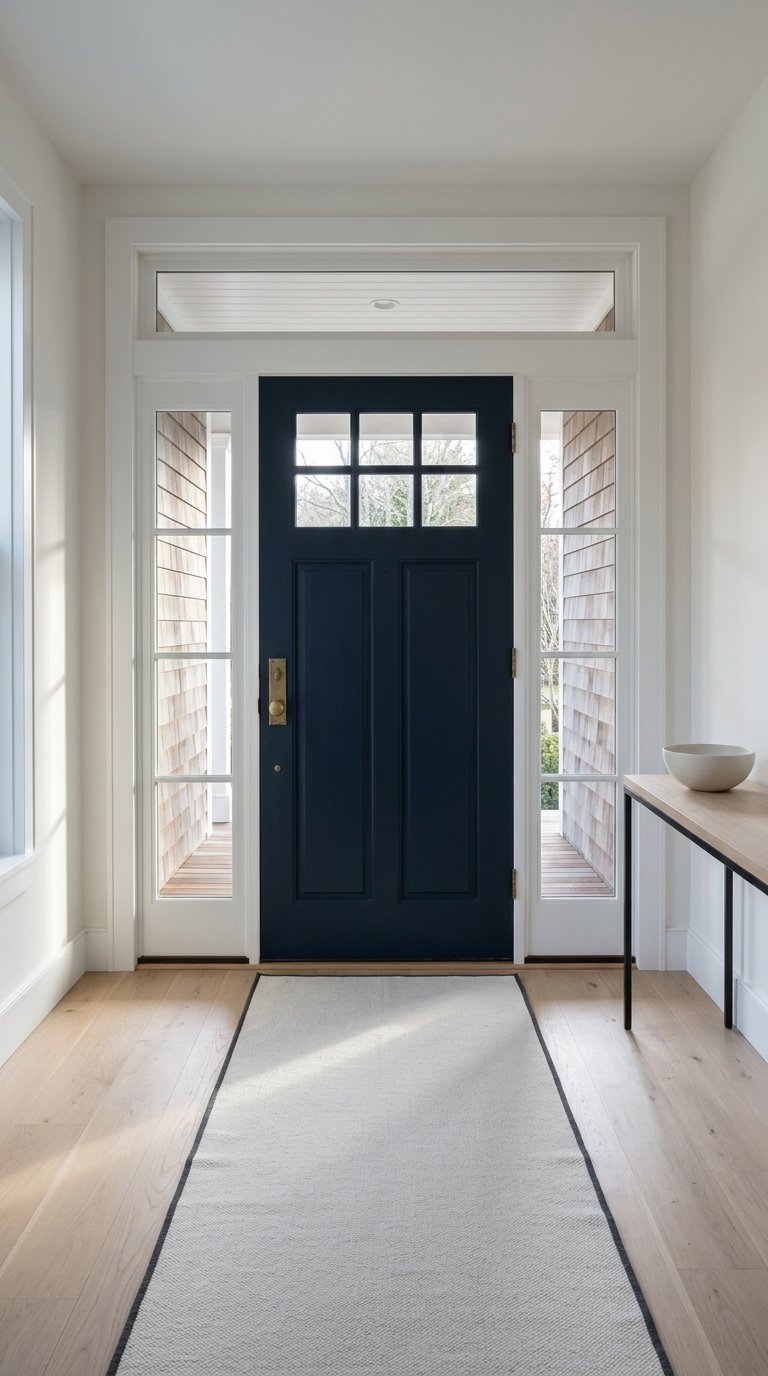
- Stage a practical entry. New England buyers expect places for coats and boots that look organized and durable.
Seasonality matters. In spring and summer, fresh landscaping and open windows feel inviting. In fall and winter, keep walkways clear, lighting warm, and décor minimal so photos look crisp and uncluttered.
Staging fundamentals that move the needle
Declutter and depersonalize
Remove extra furniture and personal items so rooms feel larger and calmer. Clear surfaces and keep just a few well-chosen accents. Pack early and store boxes out of sight.
Repairs and maintenance
Fix visible issues that signal deferred care, like peeling paint, loose handles, or cracked tiles. Replace burned bulbs, clean vents, and address small leaks so buyers focus on the home instead of a to-do list.
Light and sightlines
Maximize natural light by opening curtains and blinds for photos and showings. Use warm, consistent bulbs and layer table lamps with overhead lighting. Keep windows clean and sightlines open to any views or architectural features.
Layout and scale
Arrange seating to show conversation areas and easy traffic flow. Right-size furniture so rooms feel spacious. Identify a clear focal point such as a fireplace, built-in, or window view.
Color and texture
Neutral wall colors photograph well and appeal to a wide audience. Add texture through rugs, pillows, and throws for depth without clutter. Subtle coastal or regional touches can work near the water but should not dominate.
Storage signals
Buyers open closets and cabinets. Edit contents to show generous capacity and simple organization. A few labeled bins can make storage feel intentional, not limited.
Pet plan
Remove beds, toys, litter boxes, and bowls for photos and showings. Vacuum and neutralize odors so buyers focus on the home, not signs of pets.
Room-by-room guide
Entry and mudroom
- Before: Shoes, coats, and mail create a busy first impression.
- After: Add a small bench or table, a mirror to bounce light, a rug, and a few hooks. Keep it minimal and practical to set a calm tone.
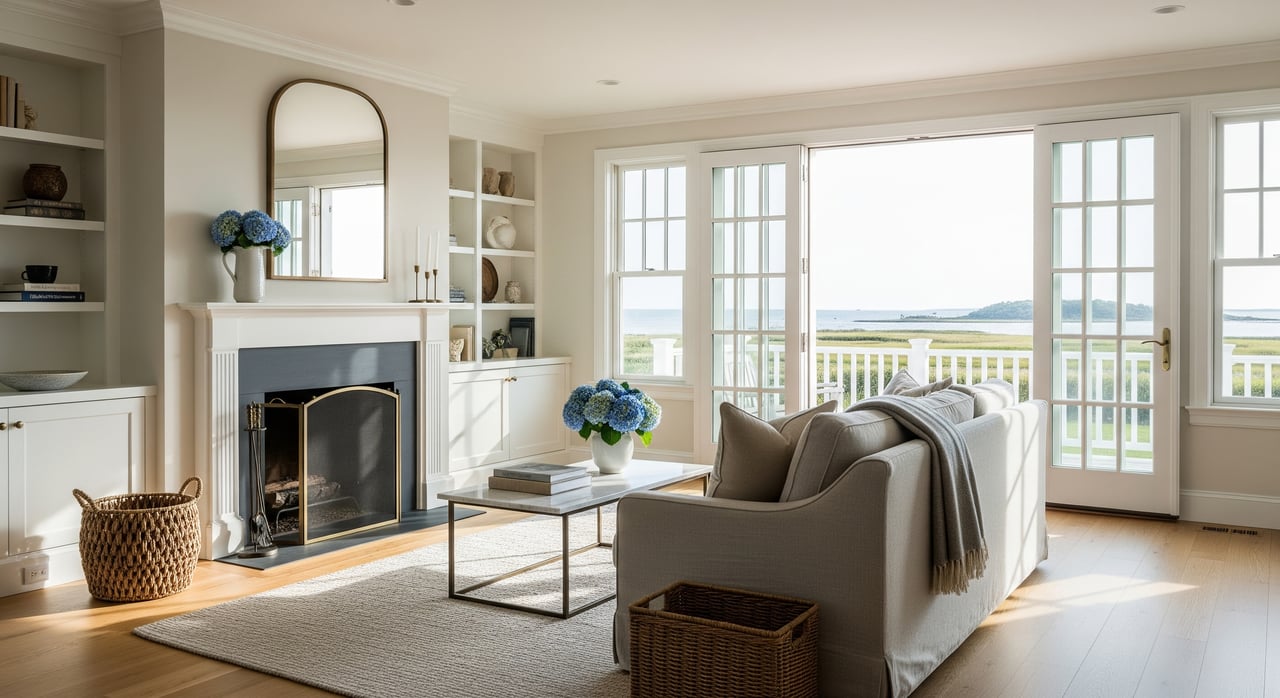
Living and family room
- Before: Oversized sectionals and heavy drapes make the room feel tight and dark.
- After: Use lighter-scale seating, a neutral rug to define the area, and a single focal art piece. Arrange furniture to show flow and conversation space.
Kitchen
- Before: Counters full of appliances, dish racks, and magnets on the fridge.
- After: Bare counters aside from one simple bowl or vase and a styled cutting board. Clear the sink, organize visible shelves, and let workspace and storage stand out.
Dining room
- Before: Mismatched chairs and a cluttered table.
- After: Balanced seating, a simple runner or placemats, and a modest centerpiece. Make the light fixture the star by keeping the table clean.
Primary bedroom
- Before: Heavy patterns, too many pieces, and busy nightstands.
- After: Crisp, neutral bedding, two matching lamps, and minimal décor. Leave the closet door slightly ajar to suggest storage.
Bathrooms
- Before: Counters crowded with toiletries and damp towels.
- After: Clear all personal items, add folded white towels, a soap dispenser, and a single plant or candle. Clean grout and glass to emphasize finishes.
Home office or flex space
- Before: Paper stacks, visible cables, and mixed-use clutter.
- After: A clean desk with a laptop, a comfortable chair, and good lighting. Make it obvious where productivity happens.
Basement and attic
- Before: Random storage boxes and tools.
- After: Create one staged zone like a media nook, playroom, or gym, or show neat storage with labeled bins. Emphasize dryness and utility.
Outdoor spaces
- Before: Worn furniture and debris.
- After: Fresh seating with outdoor pillows, potted plants, a clean grill area, and trimmed lawn or shoveled paths in winter. Capture usable space in every season.
Small utility spaces
- Before: Crowded mudrooms and pantries.
- After: Hooks, baskets, and labeled containers show capacity and order. Keep surfaces mostly clear.
Staging scope, timing, and budget
Choose your approach
- DIY styling: Rearrange, declutter, paint, and add simple accessories. Good if you have time and a clear plan.
- Partial or professional styling: A stager refines key rooms, updates layouts, and may supply art or rugs. Follow with professional photos.
- Full staging: Ideal for vacant or high-end listings. Furniture rental and complete design help buyers understand proportion and function.
3 to 12-month timeline
- 3 to 6 months: Plan paint and flooring, book contractors, address repairs, and start decluttering. Consider landscaping updates to boost curb appeal.
- 4 to 8 weeks: Deep clean, finalize the staging plan, and remove personal photos and collections. Order any accessories, rugs, or lighting.
- 1 to 2 weeks: Install staging, complete touch-ups, and schedule professional photography and a virtual tour.
Think of staging as an investment in presentation and market time. Costs vary by home size and scope, so weigh the potential for faster interest and smoother showings when planning your approach.
Photo and virtual tour readiness
- Stage for the camera. Open window treatments, make beds, hide cords, and keep one clear purpose per room.
- Book a real estate photographer after staging and cleaning are complete. Ask about twilight exteriors if your property has standout outdoor features.
- Prepare for motion in virtual tours. Keep styling consistent from room to room, reduce reflective clutter, and ensure sightlines feel open.
Quick South Shore checklist
- 3 to 6 months:
- Walk each room and list repairs.
- Choose neutral paint and photogenic finishes.
- Schedule contractors and plan landscaping.
- Declutter and begin packing nonessentials.
- 6 to 8 weeks:
- Deep clean, service HVAC, and clean gutters.
- Finalize your staging plan for key rooms.
- Refresh curb appeal with mulch, pruning, and a painted front door if needed.
- 1 to 2 weeks:
- Install staging and finish touch-ups.
- Book professional photos and virtual tour.
- Remove personal items and secure valuables and pets.
- Day of photos and listing:
- Turn on all lights and open window treatments.
- Set comfortable temperature and tidy surfaces.
- Walk through once more to clear counters and floors.
Next steps
Thoughtful staging helps your South Shore home look its best online and in person. If you want a design-savvy plan, curated photography, and premium marketing, partner with a local advisor who delivers a concierge process from preparation through closing. To receive a tailored staging and photo strategy for your property, connect with Regan Peterman.
FAQs
Does staging increase sale price in the South Shore?
- Staging most often improves buyer perception and can reduce time on market; any price impact depends on the property, condition, and local demand.
Which rooms matter most when I stage?
- Prioritize the kitchen, living or family room, primary bedroom, entry, and primary bath; then highlight outdoor areas and any unique features.
When should I start staging work before listing?
- Begin decluttering and repairs 3 to 6 months ahead if possible; complete staging and professional photos in the last 1 to 2 weeks.
Should I rent furniture or use what I have?
- Use existing pieces if they fit and photograph well; rent when the home is vacant, furnishings are oversized, or you want a more updated look.
Do buyers notice staging beyond the listing photos?
- Yes. Staging shapes first impressions online and also guides how buyers feel in person, from flow to function.
How do I stage for virtual-first or remote buyers?
- Show a clear use for each room, highlight a functional home office, and keep styling consistent so photos and tours feel cohesive and move-in ready.